Preparing VELUX® wall remote control
This chapter explains how to prepare a VELUX® wall remote control before connecting it to E-VLXESP32.
E-VLXESP32 is compatible only with the following VELUX® wall remote models:
- KLI311
- KLI312
- KLI313
Important
Connecting an incompatible VELUX® remote control may permanently damage both the remote and the E-VLXESP32.
Before you start
Ensure that your VELUX® wall remote control is correctly paired with your VELUX® motorized skylight window.
Note
Follow the official VELUX® remote control manual to pair a new remote with the skylight window.
Before proceeding, verify that you can open, close, and stop the skylight window using the wall remote buttons.
Required tool
You will need a small flat-head screwdriver.
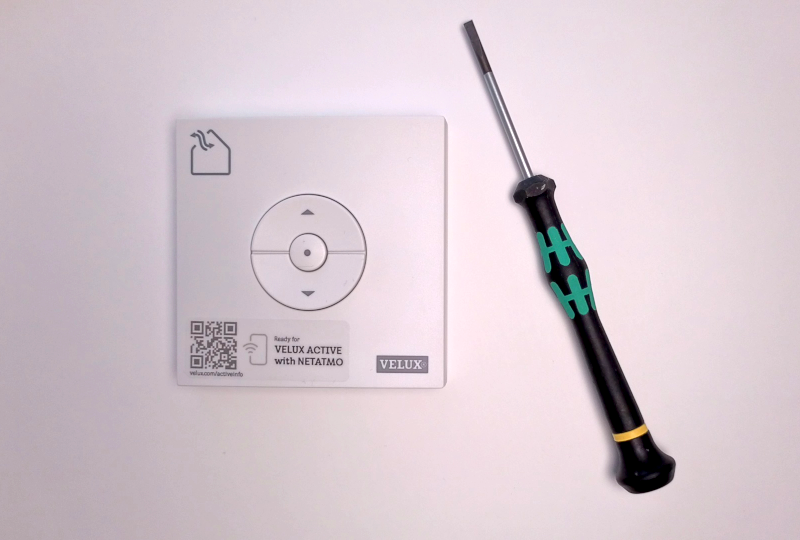
Fig. 1 – Small flat-head screwdriver
Step 1 – Remove the back cover
Using the screwdriver, carefully remove the back cover from the VELUX® remote control.

Fig. 2 – Back cover removal
Step 2 – Remove the batteries
Remove any batteries from the remote control.
Caution
Always remove the batteries before connecting the remote.
Leaving batteries installed may damage the E-VLXESP32.
Note
Batteries are no longer required.
The E-VLXESP32 powers the VELUX® remote via pogo pins.
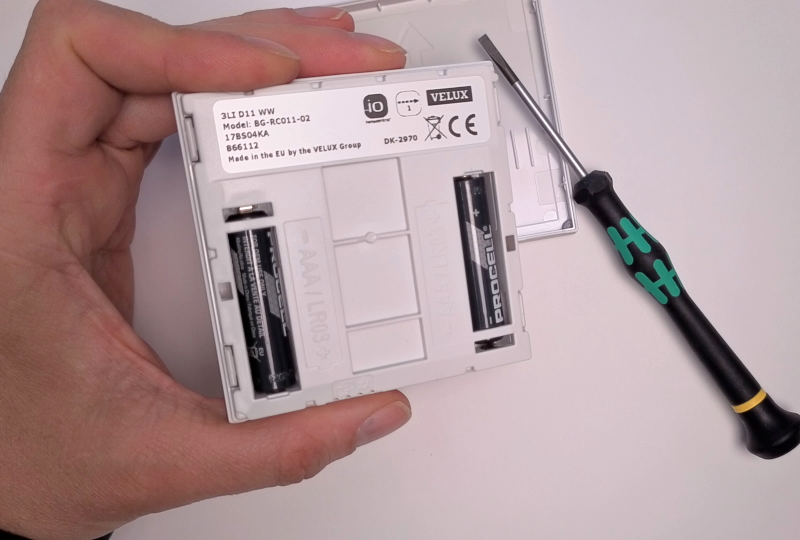
Fig. 3 – Battery removal
Step 3 – Remove the battery holder
Carefully remove the battery holder from the back of the front cover. Use the screwdriver to gently release the snap-fit mechanism.
Caution
Do not damage the snap-fit mechanism.
Danger
If the snap-fit mechanism is damaged, do not connect the VELUX® remote to E-VLXESP32. Misaligned pogo pins may cause electrical damage or malfunction.
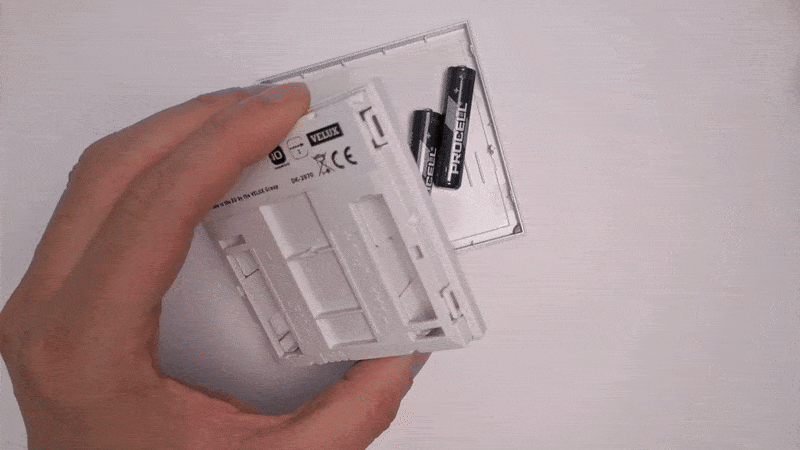
Fig. 4 – Battery holder removal
Step 4 – Verify PCB compatibility
Ensure that the PCB on the back of your VELUX® remote matches the image below. All gold-plated pads must be in the same position.
Danger
If the PCB layout does not match, do not connect the remote to E-VLXESP32.
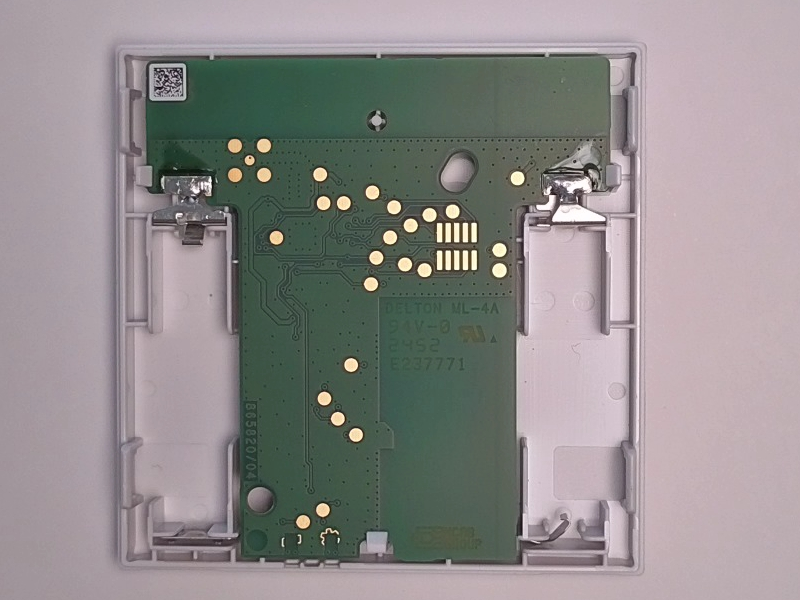
Fig. 5 – Compatible PCB layout
Step 5 – Verify Mechanical compatibility
The plastic enclosure of E-VLXESP32 is only mechanically compatible with the new VELUX® remote cover KLI311, KLI312, KLI313. As shown in the image below, make sure that the snap-fit mechanism indicated by the purple arrows matches the one on your VELUX® remote.
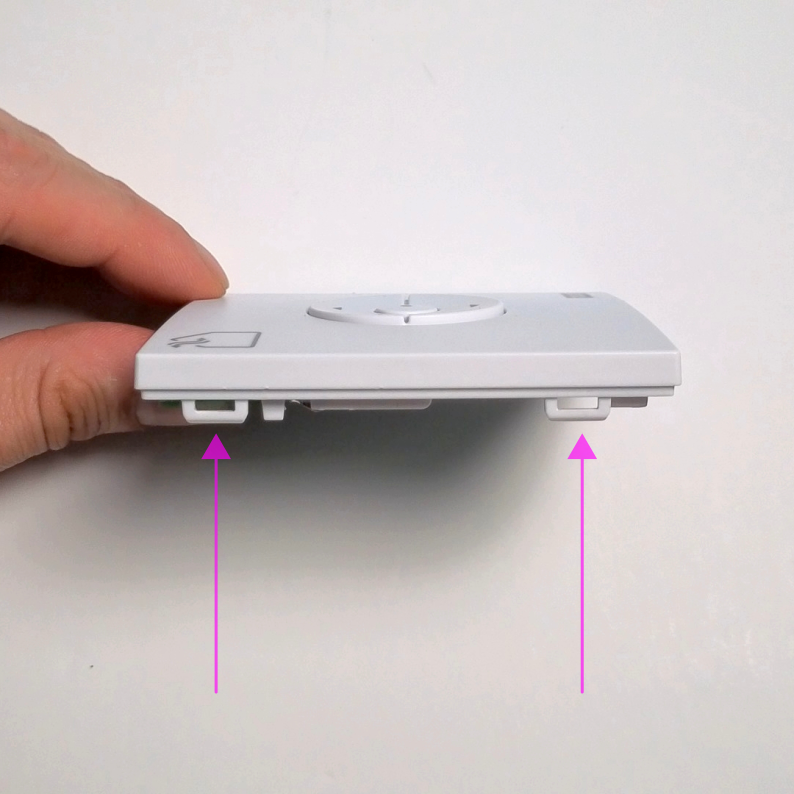
Fig. 6 – Compatible VELUX® remote
Note
Some older KL313 units may have been manufactured with a different internal mechanical design than the one shown above. E-VLXESP32 is not mechanical compatible with older KL313 VELUX remote.
Important
Do not attempt to install E-VLXESP32 in an incompatible remote. This may cause irreversible damage to both the E-VLXESP32 and the incompatible VELUX® remote.
The following images (Figures 7, 8, and 9) compare the old and new versions of the VELUX® remote control.
E-VLXESP32 is only compatible with the new version of the remote. Before installation, verify that you have the correct remote model by comparing it with the examples below. The compatible remote is marked with a green YES in the images.
The remote marked with a red NO is not mechanically compatible with the E-VLXESP32 and cannot be used.
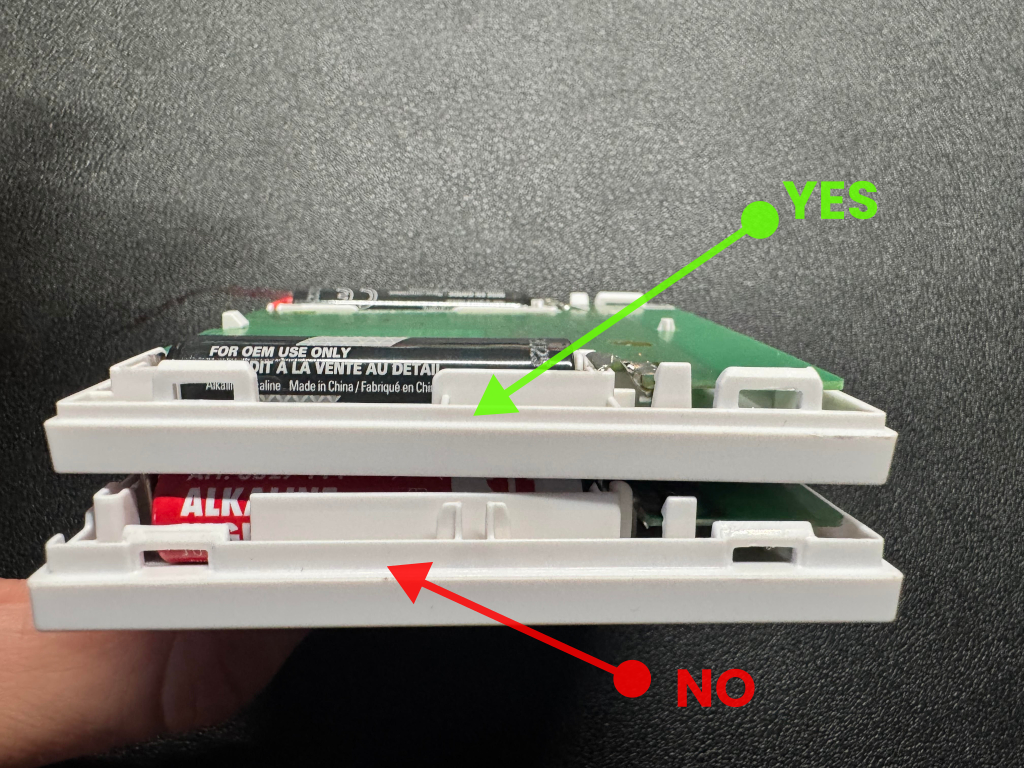
Fig. 7 – Side view comparison of old and new VELUX® remotes

Fig. 8 – Top view comparison of old and new VELUX® remotes
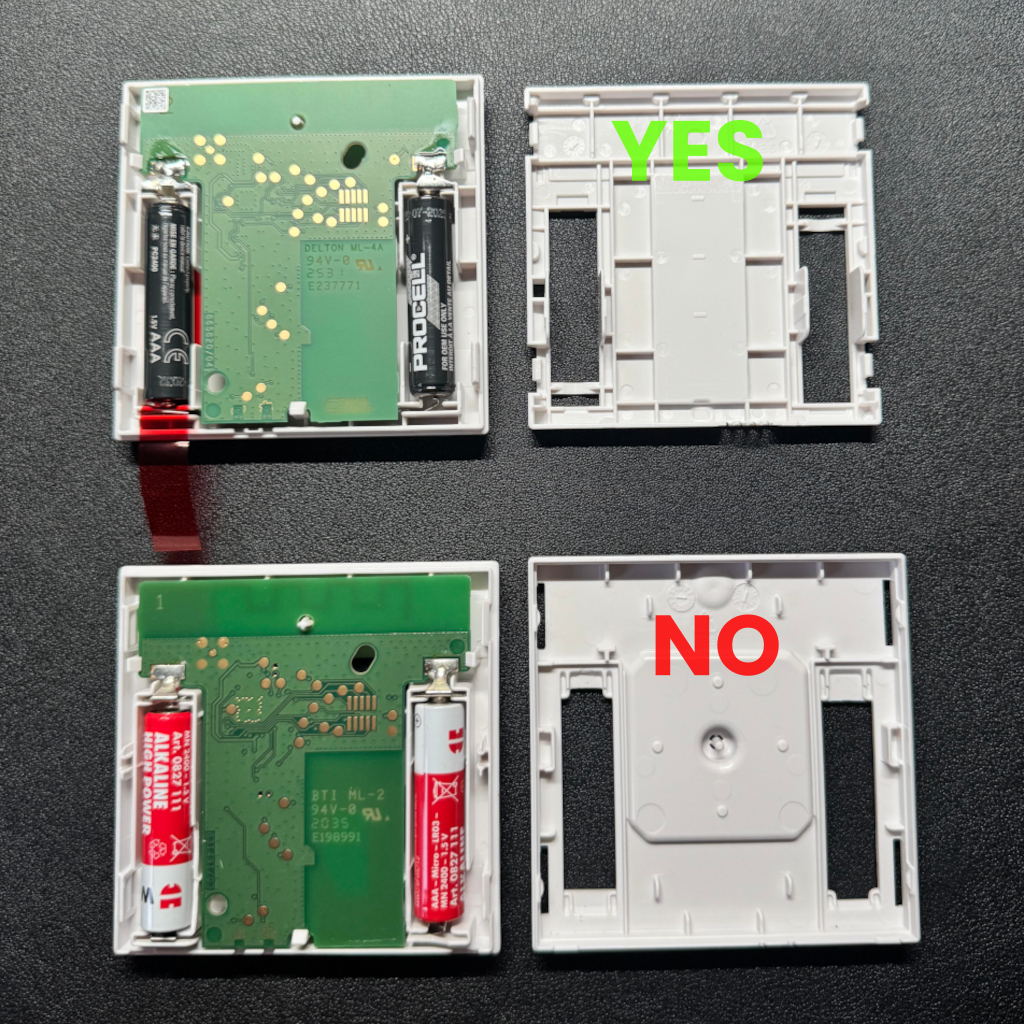
Fig. 9 – Additional top view comparison of old and new VELUX® remotes
Completion
Congratulations!
Your VELUX® wall remote control is now ready to be connected to E-VLXESP32.
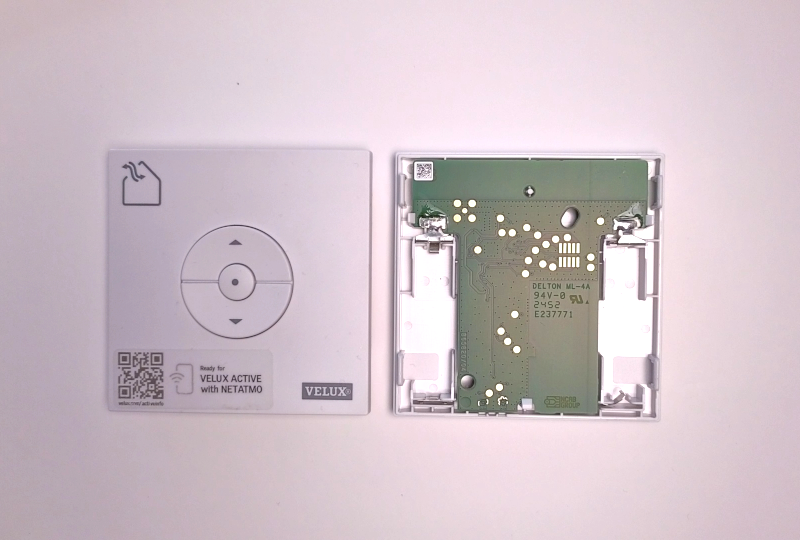
Fig. 10 – Remote ready for connection