Flashing the Firmware
This guide explains how to flash the E-VLXESP32 firmware to control it from Home Assistant over your local Wi-Fi network.
Flashing is straightforward, and you can use either the Command Line or Home Assistant add-on method.
What You Need
Required Items
- E-VLXESP32 device
- USB-C cable
- A computer (*) to build and upload the firmware
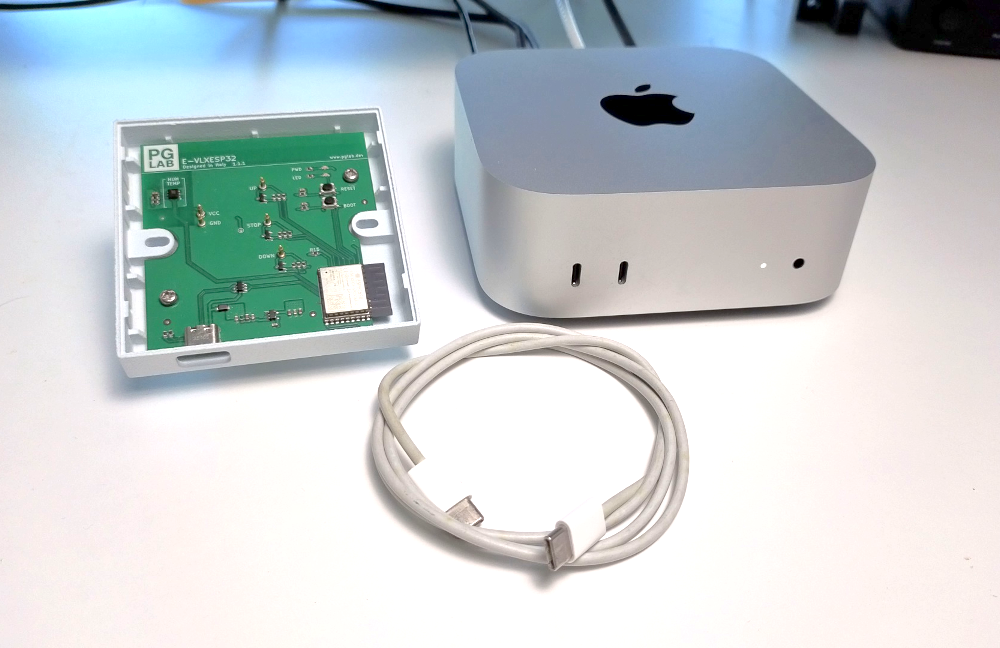
Fig. 1 – Hardware
(*) You can use any computer with WINDOWS/LINUX/OSX or any device able to run HomeAssistant.
Safety Warnings
Important Safety Precautions
- Do not connect E-VLXESP32 to mains power (110/220V AC) during flashing.
- Do not connect the VELUX front cover during flashing.
- Only connect the VELUX front panel after flashing is complete and the USB-C cable is removed.
- Do not insert any batteries.
Option 1: Command Line
Step 1: Install ESPHome CLI
Follow the instructions to install the ESPHome Command Line Tool at this link.
Verify Installation, open a terminal and run:
$ esphome --version
Expected output:
Version: 2025.8.0
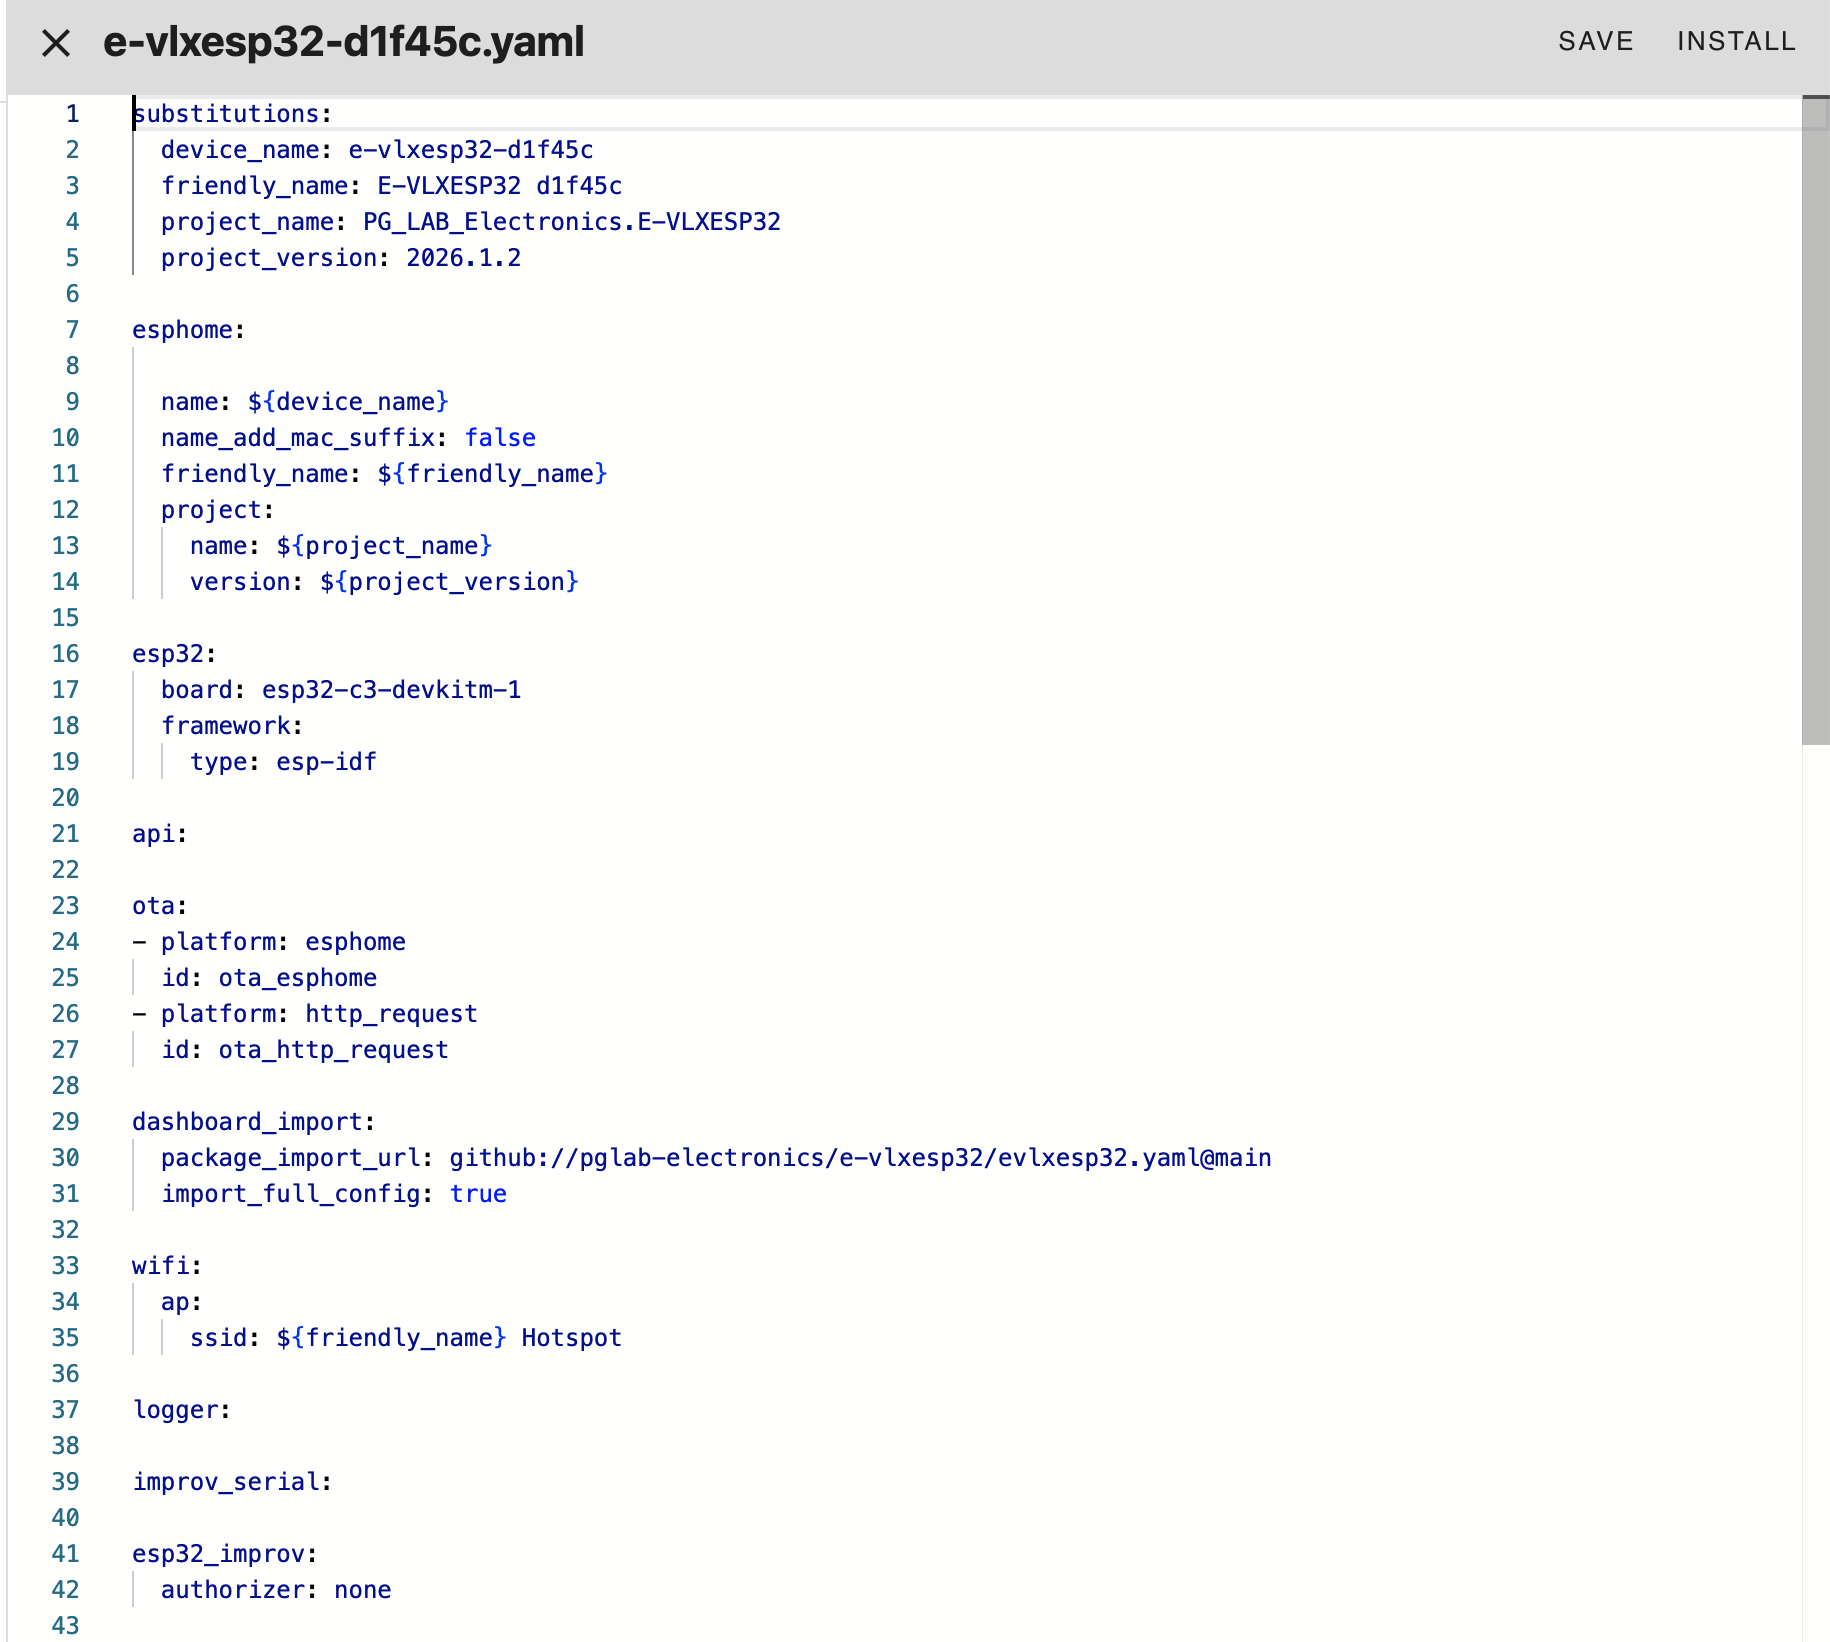
Step 2: Configure Your Device
- Download the evlxesp32.yaml file from this link.
- Open it in a text editor.
- Modify and save the file according to your needs.
You can fully customize this configuration to match your setup. For example, you can update the device name, Home Assistant API settings, Wi-Fi credentials, and any other parameters supported by ESPHome.
Update Device Name
Each device must have a unique name. This name is used in Home Assistant and for accessing the internal device web server:
esphome:
  name: evlxesp32
Update Home Assistant API Key
Each device must have a unique API key. Generate one here (see encryption section):
api:
  encryption:
    key: "pQUjUzzg6T7NuOX4uYN6v4XvBkFcAQHzmYbr63DFmD4="
Set Wi-Fi Credentials
Replace with your own network credentials:
wifi:
  ssid: "WIFI_SSID"
  password: "WIFI_PASSWORD"
Step 3: Flash the Firmware
Connect E-VLXESP32 to your computer with the USB-C cable as show in Fig. 2.
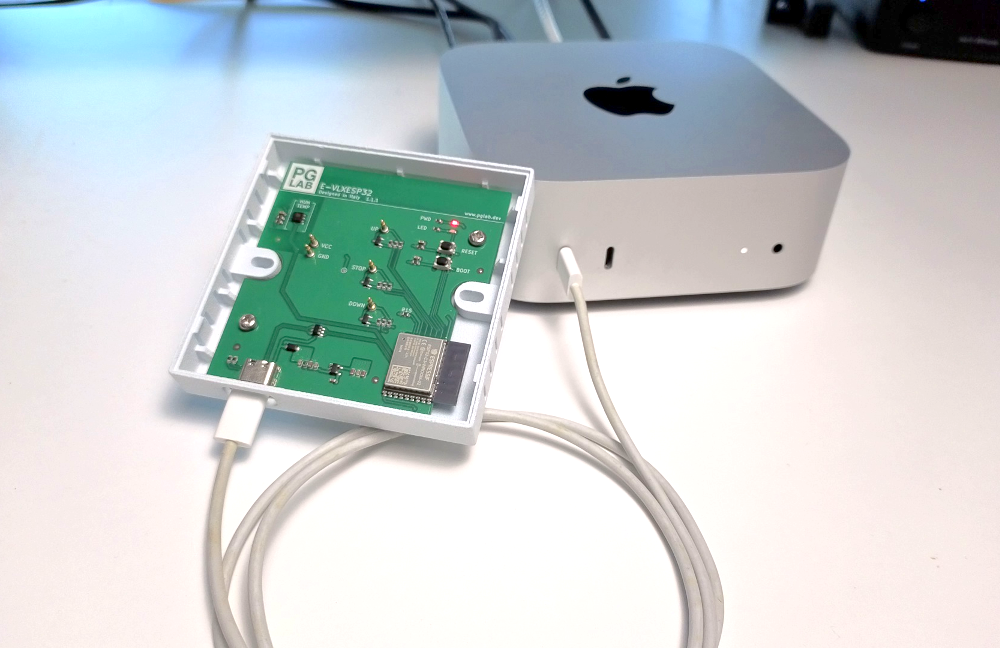
Fig. 2 – USB cable
Open a terminal windows and run:
$ esphome run evlxesp32.yaml
When prompted, select USB JTAG/Serial option as show in Fig. 3.
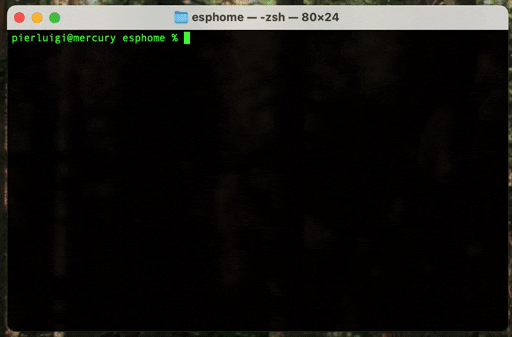
Fig. 23 – Terminal window
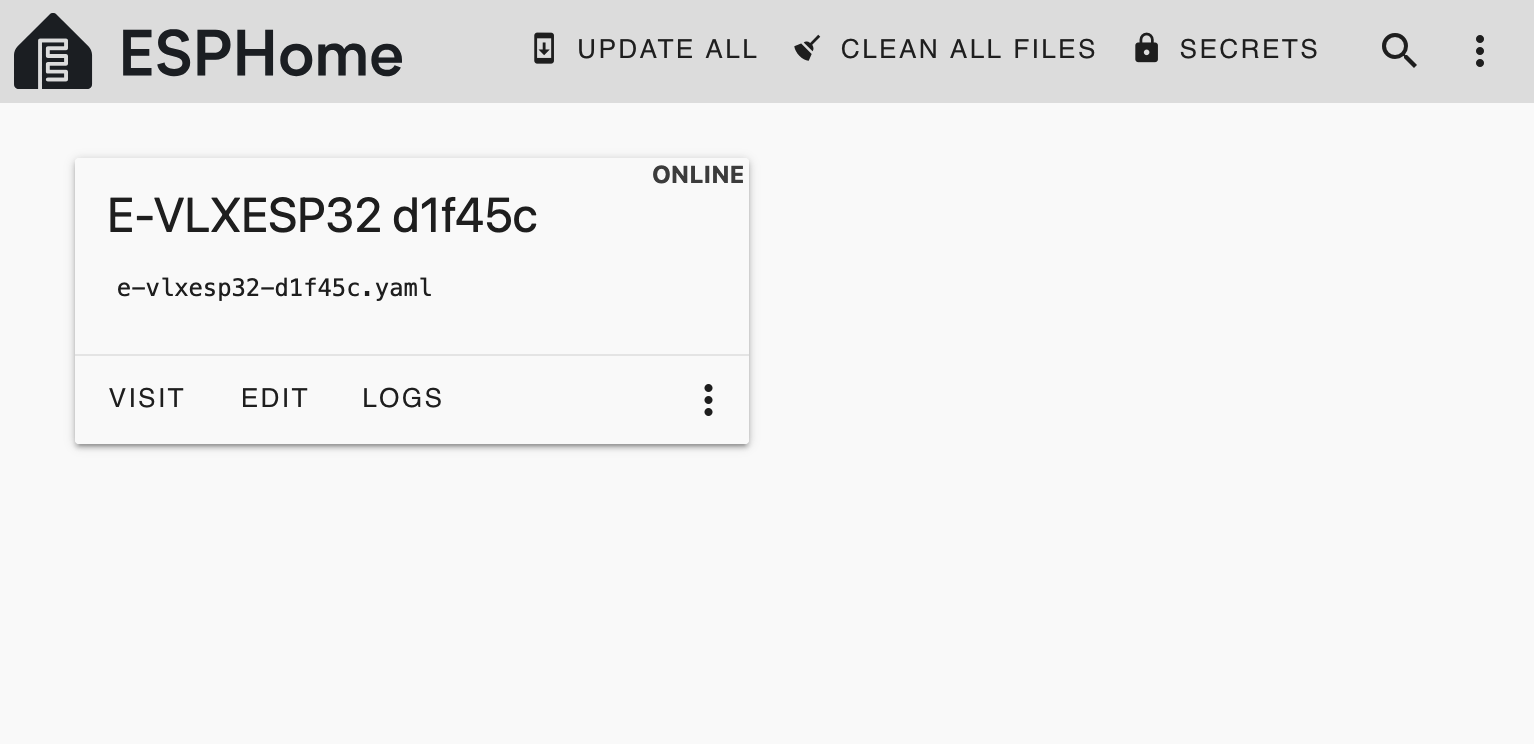
Option 2: Home Assistant add-on
Home Assistant includes an add-on called ESPHome Builder.
With this add-on, you have full control over your ESPHome devices. Click on the discovered device and select TAKE CONTROL.
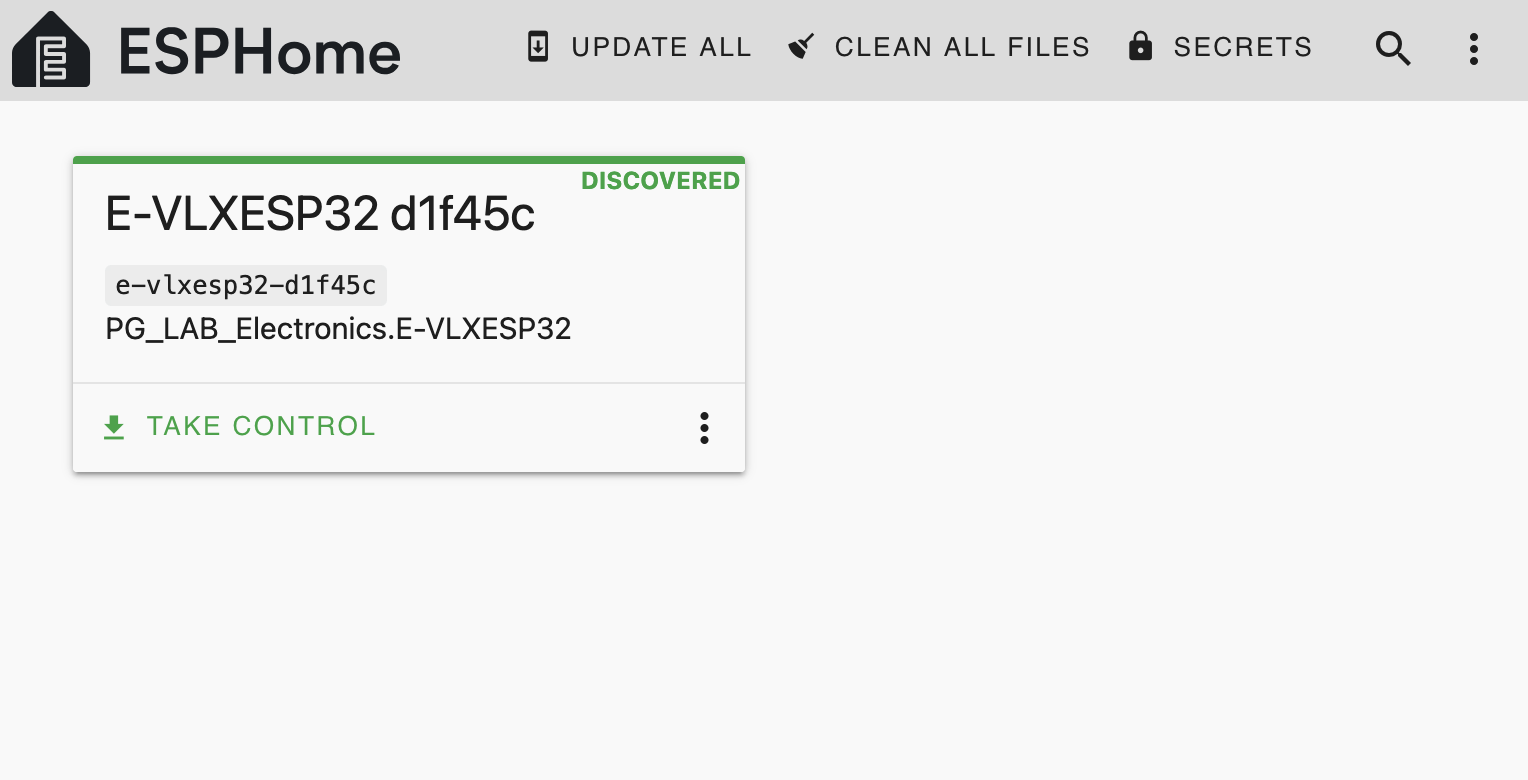
Home Assistant will download the E-VLXESP32 YAML configuration file from the GitHub repository, along with all required dependencies needed to compile and flash the firmware.
This step may take some time on certain systems.
When finished, you should be able to see your E-VLXESP32 device ONLINE.
Click EDIT, modify the configuration according to your needs, then click SAVE & INSTALL to flash the firmware.
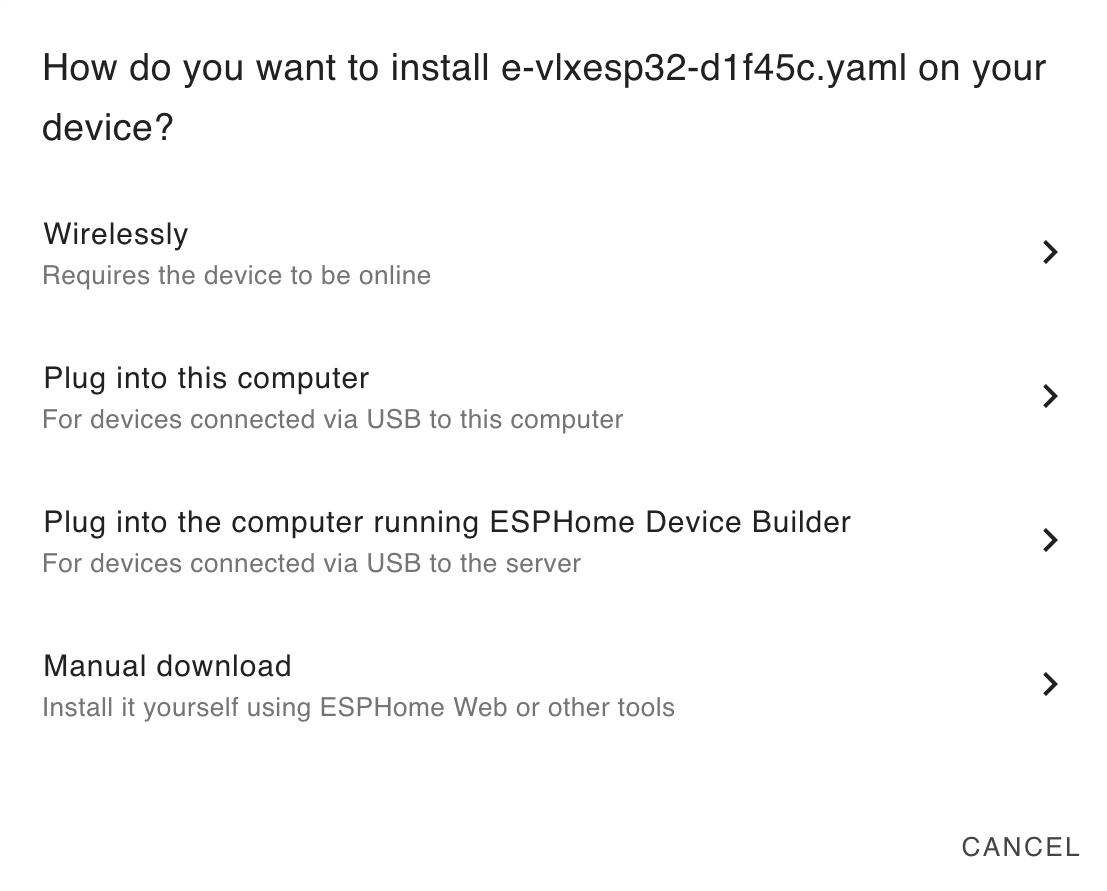
The E-VLXESP32 supports OTA updates, so you can flash new firmware without a physical USB connection. In this case click Wirelessly when HomeAssistant ask how to flash the update firmware.
Verify Connection
When the firmware is been flashed, the device reboot. After few minutes E-VLXESP32 is connecting to your local WIFI. You should be able to connect to the internal web server typing on your browser the device name as the following:
http://e-vlxesp32-d1f45c.local
You should be able to see a page similar to the following.
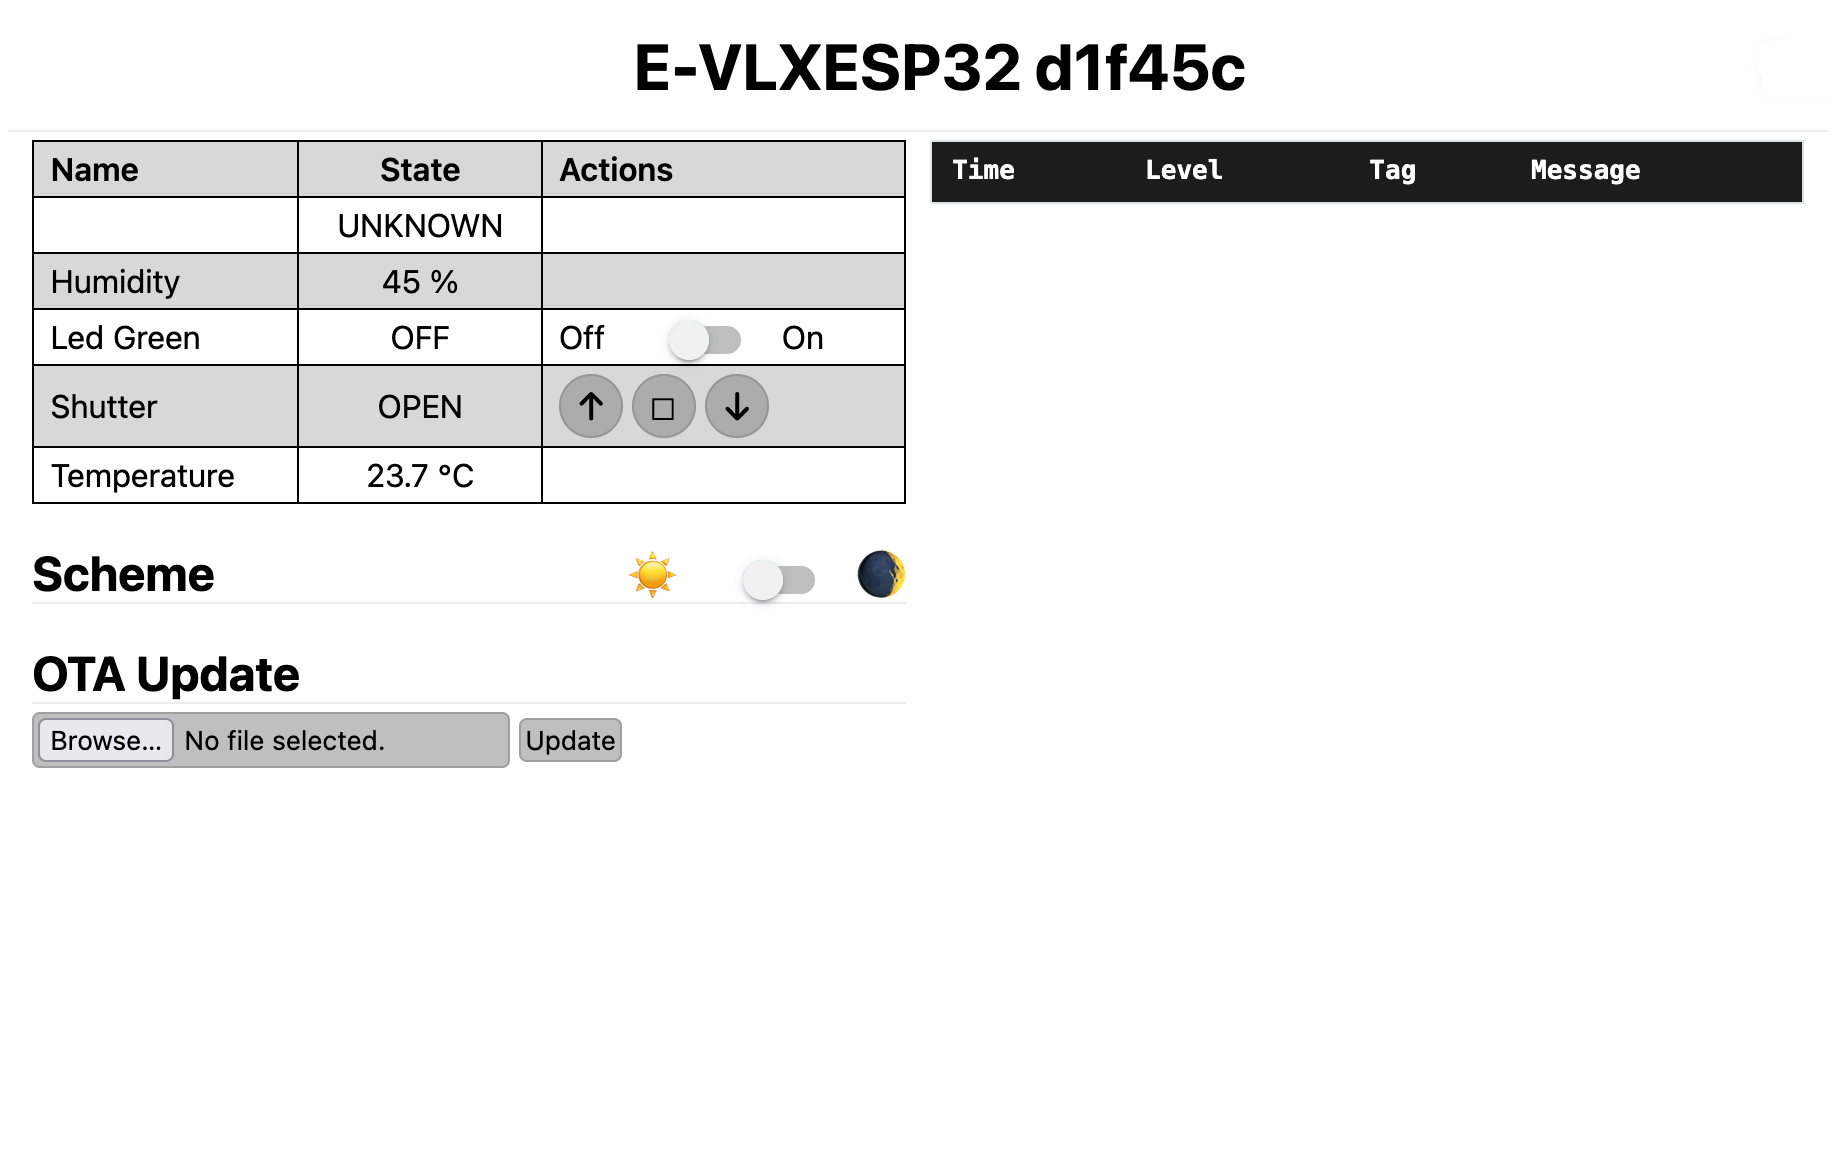
From here you can monitor environment humidity, temperature and control the VELUX® skylight.
E-VLXESP32 has also a green led used for test purpose.
To confirm that every things works properly you should be able to toggle the LED state as show here.
Final note
The green LED (user LED) is used to confirm that the device is connected and responsive.
You can toggle the LED state as shown below to verify that the E-VLXESP32 is working correctly.
If you do not want to expose control of the green LED to Home Assistant, modify the YAML configuration file and remove or adjust the following section:
platform: gpio
  pin: GPIO10
  name: "Led Green"
with
platform: gpio
  pin: GPIO10
  name: "Led Green"
  internal: true